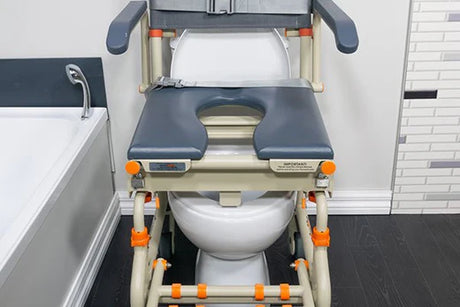
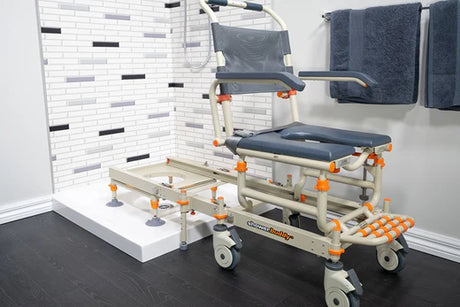
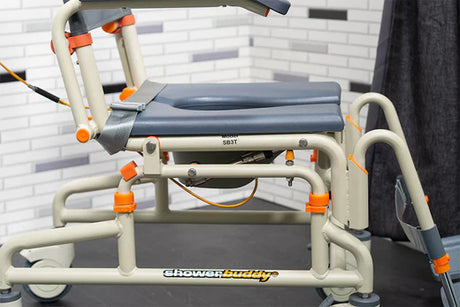
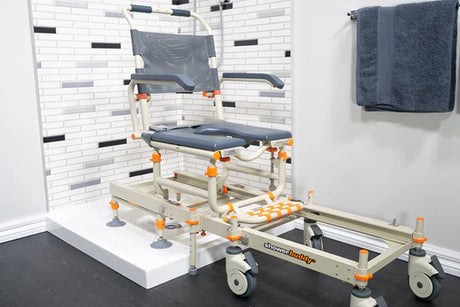
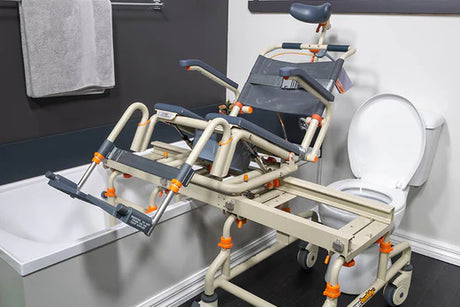
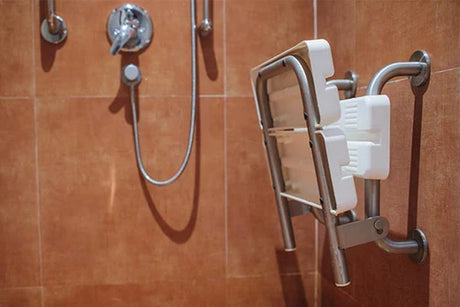
1. Ensure the chair is positioned flat and securely to the shower floor.
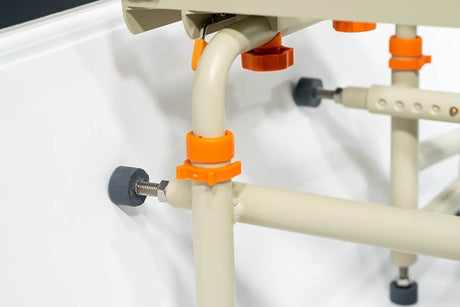
Upon installing the shower chair into the bathroom, you’ll want to make sure the floor of the bath or shower is clean and dry. This means doing a good clean of the surface with a reputable bathroom cleaner. Any mould or soap build up could cause a slip when body weight is placed on the chair.

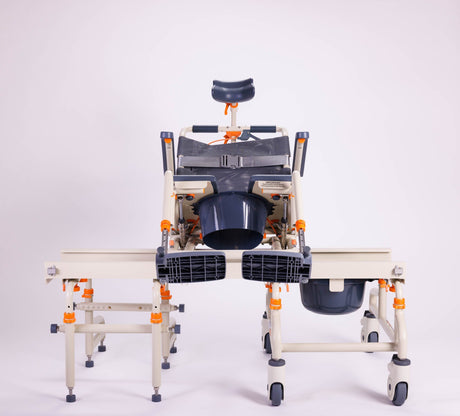
If you’ve got a transfer system like Showerbuddy, you’ll also want to make sure the in-shower base lines up with the bridge to easily move the seated user across the edge of the shower. Once you’ve got this sorted during installation, you shouldn’t need to adjust this for a good while, unless the user’s preferences change over time on placement in the shower/bath.
2. Backrest height
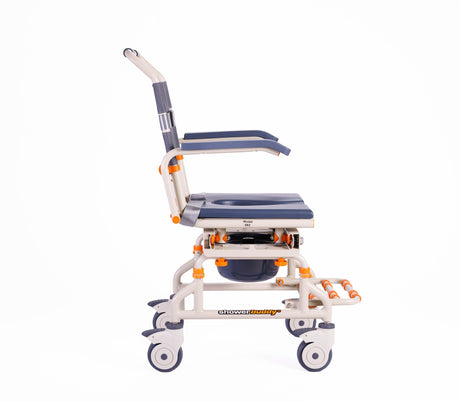
Back rests are also going to be adjusted over the longer lifespan of the product as the user grows older. Backrests should provide a good centre of gravity where the individual doesn’t feel a strain on their core to stay upright. Together with the arm rests, this will ensure both safety and stability.
3. Feet rest positioning
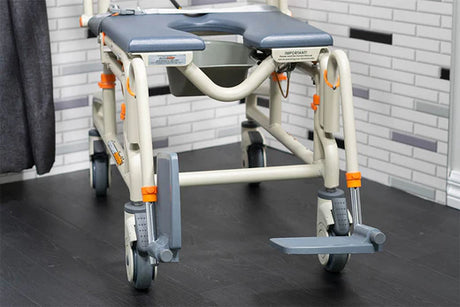
An occupational therapist is the best person to talk to about how the feet rests should be positioned to suit what the user’s needs are. In the case of a Showerbuddy chair, these can be lifted independently of each other, meaning that one leg can be lifted to a 90 degree angle, and the other can be straight – or any configuration as deemed necessary by the carer, OT or user.
Some users may be a height that they prefer to have the footrests folded away entirely – this can assist with mounting from the front and allows taller users to rest feet on the shower floor.
4. Arm rest positioning
Using arm rests can be useful for:
- Maintaining stability whilst seated
- Protecting from sideways slumping out of the chair
- Reducing tension on arms and hands
- Allowing for bathing of sides and underarms with no additional exertion by the user
Conversely, the carer and user may remove or fold these away for a number of reasons such as:
- Allowing for bedside mounting onto the chair (if a wheel-based bathroom solution like Showerbuddy).
- Enabling the carer to access the user for bathing assistance more easily.
- The user is able to maintain a safe seated position without armrests and wants the freedom of arm movement outwards.

5. Transfer position
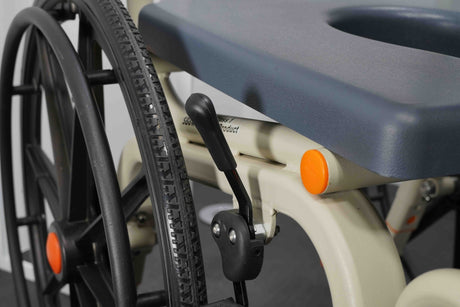
If you have a standalone shower chair, you’ll want to ensure that it’s placed as near to the edge as possible whilst still allowing a perfectly flat, safe grip onto the floor. This is because when a wheelchair or walker is used to approach the shower, there is less distance to move the user manually.
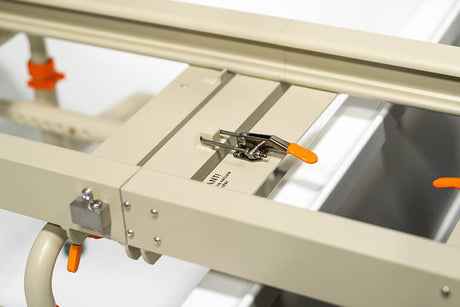
If you’ve got a full transfer system like Showerbuddy, this adjustment is about where the shower base is located in relation to the chair and transfer bridge. This option allows more flexibility on where the user will ultimately be positioned inside the shower or bath, as the transfer bridge takes care of the shifting of the individual – not another carer. We have guides on how to install this properly over at our YouTube channel, otherwise your local distributor and/or occupational therapist can assist.
Does your shower chair not allow for fine adjustment? Consider a better option with Showerbuddy
If you’ve got a shower chair option that isn’t enabling these adjustments, it may be time to consider an option that does.
Head over to our product range to learn more about the flexibility and customisation available with the Showerbuddy system
Further reading
Enjoyed this article? You may be interested in these resources online:
- What to look for in a shower chair – Showerbuddy Blog
- Customising your Showerbuddy – Accessories













![Toilet Training A Young Child With Mobility Challenges [And How A Shower Chair Can Help]](http://shower-buddy.com/cdn/shop/articles/toilet-training-disabled-child_520x500_a90e5234-d372-435d-aa56-8da15dd3836c.webp?v=1722557239&width=460)


